Hardware wallets are a must if you are a big-time cryptocurrency investor. Because keeping your hard-earned coins in an exchange portal or a web wallet is not only risky but very inefficient.
In that sector, desktop-based wallets and paper wallets are okay but not that secure enough either. So, your best bet is to use a hardware wallet when storing a handsome amount of cryptocurrencies.
Hardware wallets are secure than other wallet types because your wallet data never leaves the hardware. When you set up your device for the first time you enable certain security features that protect your funds from getting stolen.
Whenever you try to access the wallet or do a transaction by connecting it to a computer, you have to complete certain security measures within the hardware wallet.
If you pass the security steps, the wallet sends an acknowledgment to the computer that the transaction took place. So your private keys never leave the hardware wallets. So even if your computer is riddled with viruses and malware, they can do nothing to hack the hardware wallets. This makes hardware wallets the most secure ones.
Some of the popular brands in the field of hardware wallets are Ledger, Trezor, KeepKey, etc.
All of these wallets are an inexpensive yet valuable tool for cryptocurrency investors. These hardware wallets are extremely portable, often available in the size of a flash drive.
Out of all the hardware wallets available in the market, Trezor and Ledger wallets seem to be the crowd favorite. Maybe because they both provide great after-sales support and support a large number of cryptocurrencies.
Now as the title suggests this post is all about the Trezor wallet. First of all, I will guide you through the setup process for the Trezor wallet.
After that, I will list down all of the coins the hardware wallet supports. If you already have set up your device, then you can skip the first part.
Contents
Let’s Learn More About The Trezor Wallet
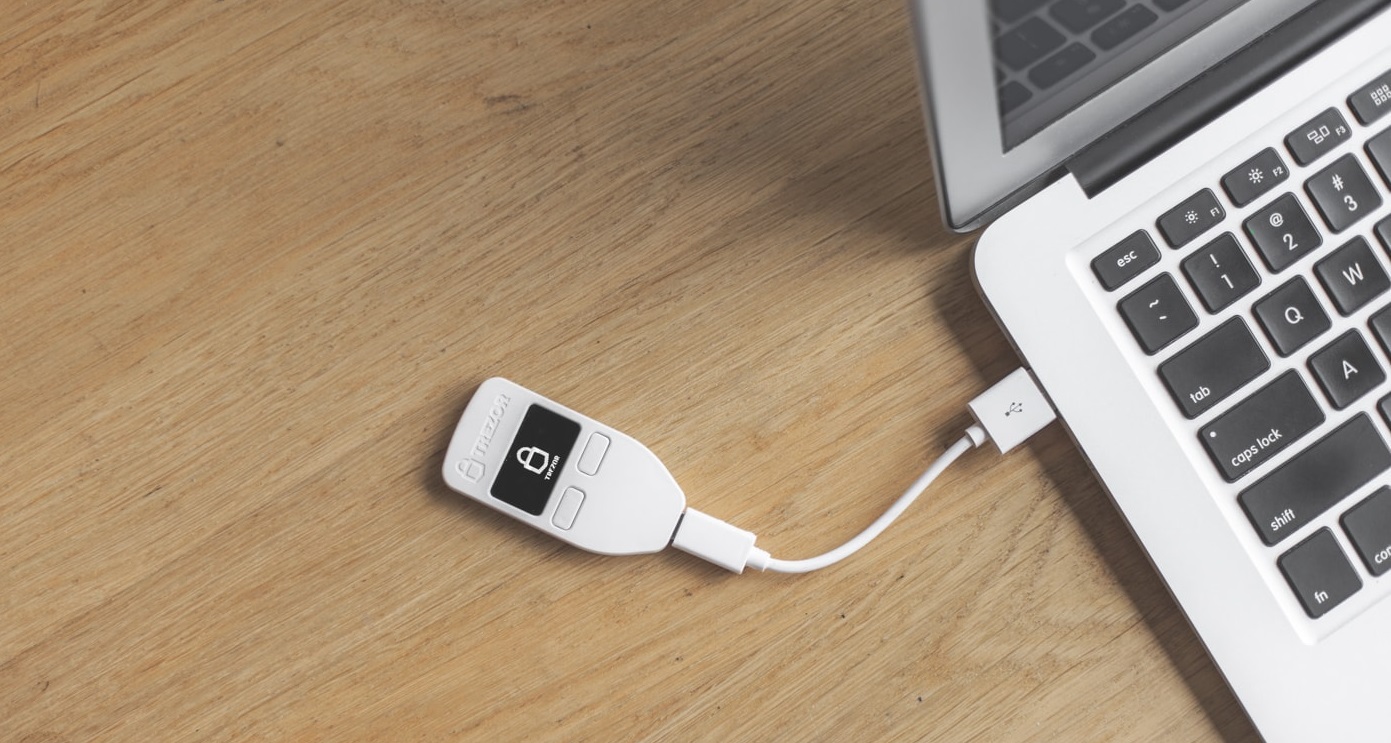
The Trezor hardware wallet is a small and sturdy device that fits into your palm. The device has a depth of just 6mm and a width of 30mm which makes it very comfortable to hold and very portable.
The device comes in two colors only – pitch black and milky white.
The Trezor hardware wallet has an OLED display with a resolution of 128×64.
There are only two buttons on the device to make it as minimalist as possible. The left side button is used for canceling while the right side is used for accepting, contrary to normal standards.
The device is equipped with a 120MHz Cortex M3 processor. You may think the processor is a bit of an overkill for a device this simple. But you will be very wrong! Considering the state-of-the-art encryption technique Trezor uses, that processor is needed.
Trezor hardware wallets are tamper-proof and water-resistant. This makes the device extremely durable. The only connectivity it has is a micro USB port that allows it to be connected to a computer or even an Android mobile.
Currently, the device sells for €89. You can buy it from the official site as well as from e-tailers like Amazon. Please use our affiliate link if you plan on buying this device.
Setting Up Your Trezor Wallet
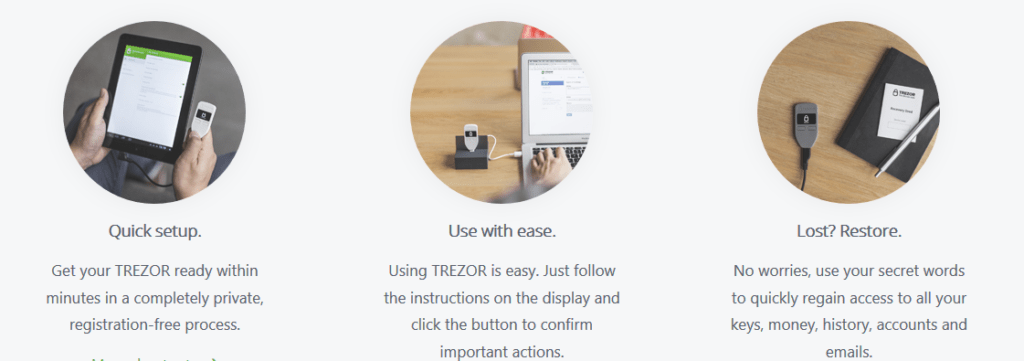
Although the setup process may sound tedious at first, believe me when you do it yourself, you won’t feel that even a single bit. It will just take 1-2 minutes to follow the steps and set up the device.
But before you do let’s talk about the possible ways you can set the device up. First of all, you can set up the device using the Trezor web wallet.
To do that you will have to install the Trezor Bridge software. This piece of software allows the device to communicate with your PC and the web wallet interface. The Trezor Bridge software is available for Windows, macOS as well as Linux. If you are a Linux user then I recommend using this software because it makes the setup process hassle-free.
You can also set up the device using the officially released Chrome extension which you can find on the wallet website. But do please keep in mind that you will only be able to use the device with Chrome or Chromium-based browsers only.
While setting up the extension on Windows and macOS is extremely easy, setting it up in a Linux environment can be a bit of a pain in the rear.
The third way you can set up the device is using an Android smartphone. Your Android device must support OTG and should be able to install the official Trezor app. The Trezor app for Android is available on Google Play as well as on Github.
In my opinion, the best way to set up is using the Trezor bridge software. So I am only going to talk about that.
How To Setup Trezor Wallet
- First of all, open up the Trezor wallet page.
- Near the bottom of the page, you will see the option to download the software. Select your OS from the drop-down and click on Download.
- After you download the file, please install it. The installation process is pretty straightforward and I don’t think you will need any help with that.
- Now it’s time to connect the device.
- Once you connect the device, open up the wallet page.
- As soon as you connect the device and open the wallet page, you will get a notification to install the latest firmware. For security reasons, Trezor devices do not ship with firmware preinstalled. So you will need to install it before you can start using it.
- Download the firmware by clicking the green confirm button. When the firmware download completes you will be prompted by the device to confirm whether you want to perform the firmware installation. Press the right-hand side button on the device itself to confirm and the installation process will begin. It may take a few minutes, so be patient. Please make sure not to unplug the device during the firmware upgrade. After the firmware installation finishes the device will prompt you to match a signature.
- Once done you will need to replug the device and the wallet page should refresh itself automatically.
- Now the wallet page will ask you to give your device a label. Give any name you want and go to the next step.
- After that, you will need to create a 4 digit PIN to secure the wallet. The device will show you a matrix of digits from 1 to 9 in shuffled order. And on the wallet page on your computer, you will see another matrix but occupied by dots instead of numbers. The dots correspond to the numbers on the device itself.
- Enter the PIN by clicking the dots on the screen. You will have to re-enter it to confirm.
- After that, you will receive your randomly generated 24-word recover phrase. You will see the words on the device’s screen one by one. Write down the words on a piece of a paper in perfect order. You have to cycle through the list using the right key. Once you reach the 24th word, the device will show the 1st word once again. This way you will be able to verify whether you wrote the words correctly. Keep the recover phrase safe as it has the ability to recover your device and funds.
- Once you are done with copying and verifying the recover phrase, the wallet page will refresh automatically and create a bitcoin wallet for you. You will be able to view balance, transact and also access basic and advanced settings from the wallet page.
Supported Cryptocurrencies
Ledger hardware wallets and Trezor hardware wallets support a plethora of cryptocurrencies, more than most hardware wallets. Down below, I have listed all the cryptocurrencies Trezor currently supports.
- Bitcoin (BTC) – This entry is a bit obvious, isn’t it? Bitcoin is the first cryptocurrency and it is undoubtedly the king of all. It has always proven to be a good investment but right now it is an expensive investment for newcomers.
- Bitcoin Cash (BCH) – This is a hard fork of the original Bitcoin. The hard fork took place in August 2017. Bitcoin Cash has an increased block size of 8 MB instead of Bitcoin’s 1 MB blocks. It is one of the top 5 most popular coins in terms of market cap.
- Litecoin (LTC) – A former Google employee Charlie Lee created Litecoin in 2011. It is one of the earliest contenders of Bitcoin and has shown good market growth over the years. One of the main features of Litecoin is that the payment cost is nearly zero.
- Dash (DASH) – Released in 2014, Dash or “Digital Cash” is an open-source peer-to-peer cryptocurrency protocol. Although it is fundamentally similar to Bitcoin like most other cryptocurrencies, it has unique features like InstaSend, PrivateSend, etc. Dash also has a self-financing and self-governing model, which makes it a distributed autonomous organization or DAO.
- Zcash (ZEC) – Launched in 2016, Zcash is fairly new to the world of cryptocurrency. But it has made a strong impression on most cryptocurrency enthusiasts because of its privacy features.
- Ethereum (ETH) – Teen code wizard Vitalik Buterin created Ethereum in 2015. His main goal was to create a cryptocurrency that has its own programming language so that anyone can easily create smart contracts and decentralized applications. He was successful, to say the least. In my opinion, Ethereum is the best cryptocurrency to invest in right now after Bitcoin.
- Ethereum Classic (ETC) – After the DAO incident in 2016, Ethereum split into two parts. The hard fork version of the original Ethereum blockchain is called the Ethereum Classic. It has lesser value and lower market cap than Ethereum but that doesn’t mean it is a bad investment.
Update – As you can see Trezor supports all the major cryptocurrencies and now over the years it has started supporting 1000+ coins. You can find the detailed supported coins over here.
All the cryptocurrencies from Bitcoin to Zcash can be used directly on the Trezor wallet interface. But you will need to use MyEtherWallet’s web interface to use Ethereum, Ethereum Classic, and ERC-20 tokens. Please visit this link for a detailed guide.
Supported Wallets, Exchanges, And Applications
You can integrate and use your Trezor hardware wallet with a lot of web wallets.
The list includes, but is not limited to ArcBit, Copay, Mycelium, Electrum, Coinpayments, etc.
A lot of exchanges also support Trezor – exchanges like Bitex support signing in with Trezor device.
Exchanges like Bitstamp and Bitwala allow you to transfer funds directly from Trezor as well as to Trezor.
You can even passwordless login to your WordPress blog using your Trezor hardware wallet. You will need to install and activate the official Trezor WordPress plugin for that.
Final Words
The Trezor hardware wallet is a great device that makes investing in cryptocurrencies secure than ever. So if you are a big-time cryptocurrency investor, buying this hardware wallet makes a lot of sense.
In case you don’t like the Trezor hardware wallet, you can check out the Ledger Nano S.
The Ledger Nano S has a smaller form factor than the Trezor one and supports a higher number of cryptocurrencies.
I tried to make this article as helpful as possible. And I hope I succeeded in doing so. Please bookmark this page as I will update the page whenever Trezor adds a new cryptocurrency to their list.
Trezor Hardware Wallet
-
Setup
-
Easy To Use
-
Security
-
Build Quality


Hi Indrasish…….very interesting reading. I have not yet bought any cryptos. I notice you have links to buy them. I wonder what kind of personal info they will want from me? Social security #s? Bank acct #s? Thanks
Hi Bob. In case of most Bitcoin exchanges, you don’t need to verify your SSN. But you will still need to connect a bank account or credit card details to pay. This will only work when you buy a little amount of BTC. To raise the limits and restrictions, you need to verify your identity.